
Updated on January 3, 2022
Do you need to know how to replace a bathroom exhaust fan without attic access? Then you’ve come to the right place to learn how to install a bathroom fan.
Replacing a bathroom exhaust fan requires disconnecting and taking out the old fan and housing and installing a new one. You can expect this repair to cost around $375 and for it to take at least 2 hours to complete.
Getting Started on the Bathroom Fan
Before you begin installing a new bathroom exhaust fan and ductwork, you’ll need to figure out what to buy and what size they need to be.
Taking Measurements
In order to avoid conflict when installing the bath fan, you have to measure out the available space to you.
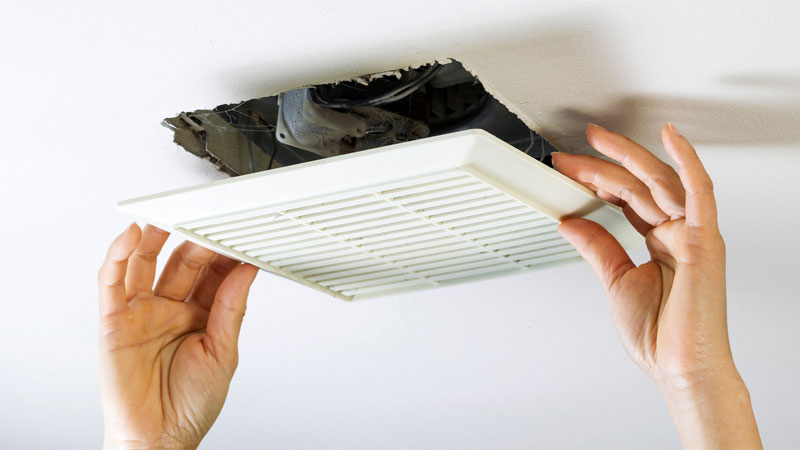
All you need to do is pop off the fan cover or grill to look inside and measure, there are usually two clips on the side that unfasten when squeezed.
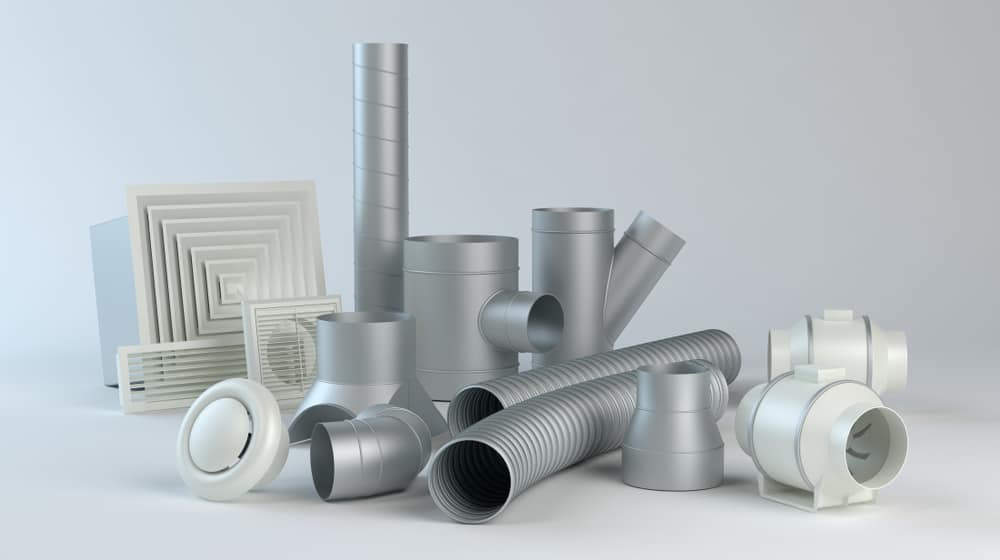
Make sure to determine the duct size and whether you’ll need to cut into the drywall for more access. Generally, ducts are 3″-4″ in diameter.
See Also: Drywall Alternatives For Your Next Remodel
Bathroom Fan Information
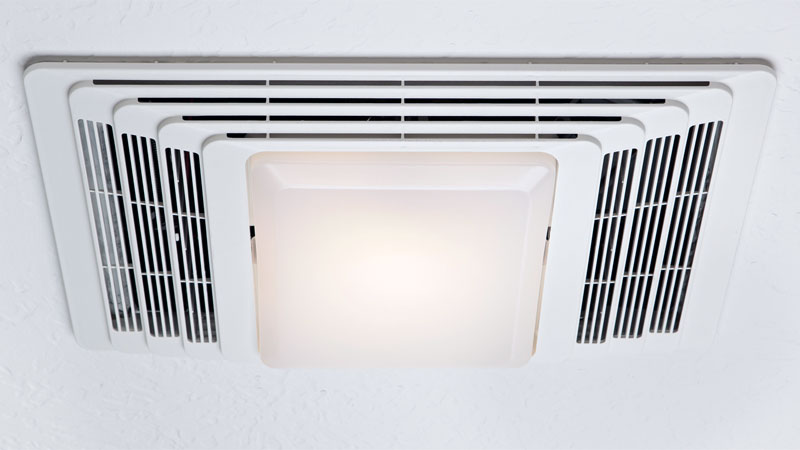
Bathroom fans are designed to improve air quality by helping eliminate humidity, moisture, and odors by drawing air from the bathroom and expelling it outside.
A fan’s power is measured in cubic feet per minute, or cfm for short. Fan size, sound level, and cfm are what you’re looking for when deciding on exhaust fans right for you.
Plan a Layout
Although it’s not that complicated of a repair, creating a simple layout of where everything is and their respective lengths, widths, or diameters will help you tremendously with moving forward.
Now that you’ve got the basics out of the way, you can begin gathering tools and supplies for the repair.
Tools and Supplies
Before you tackle this home project and start rooting around in the ceiling replacing an existing fan, you need to gather a few things first.
- Keyhole saw
- Circuit tester
- New electrical wiring and wiring cover
- New fan
- Fan housing
- Ductwork and duct connector
- Exhaust fan vent
This might not be everything you need, it depends on your exhaust fan and its size, etc.
Removing the Old Fan
Replacing an existing bathroom vent fan without attic access isn’t that labor-intensive of a process. First, we need to remove the old fan and housing.
Step 1
Getting shocked isn’t good, turn off the power to the bath fan by accessing the circuit breaker in your panel box and flipping it off. Check the power to the bathroom lights and fan by flipping the switches, oftentimes they’re on the same circuit.
You’ll need to perform this next safety check after the wiring is exposed.
For the sake of double-checking that the power is off to the fan, test that there’s no electricity coming to it with your circuit tester. If it’s a non-contact tester, you only need to get within close proximity of the wires.
Step 2
Remove the fan cover, assuming it isn’t already removed for measuring, by pulling on it at a slight angle. It’s held in place by clips and should pop right out when you squeeze on them.
Step 3
Now that the grill is off, you can begin removing the fan motor from the housing. Usually, it’s held in place by 2 or 3 screws, remember to support the motor with one hand when unscrewing.
Once the screws are removed you can take out the motor, some are plugged into an outlet inside the housing, and others require you to do undo some electrical wiring.
To undo the wiring for the motor, you need to remove the wire nuts or screws that hold them in place, some wires have female connectors on them for a more secure fit.
Step 4
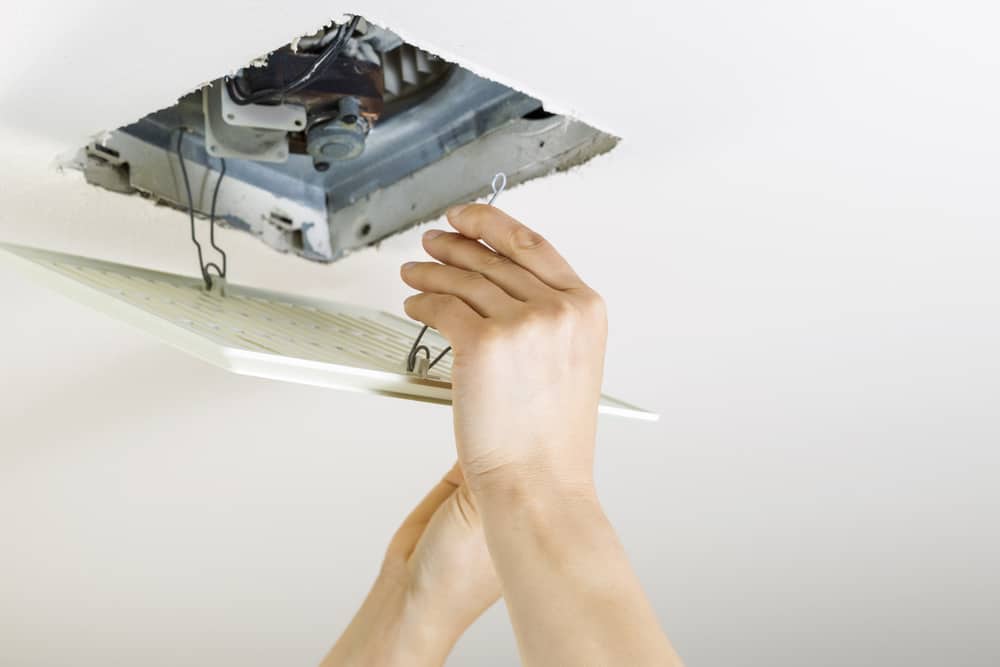
Next, you can remove the main housing that’s attached to the ceiling joists. Depending on how old the exhaust fan is, you’ll need to remove a few screws from the ceiling joists and possibly an adjustable bracket.
Some brackets or hanger bars have to be cut to be removed, you can use a reciprocating saw to accomplish this.
Step 5
Now, you’ll have to push the housing into the ceiling hole to undo the vent and electrical wiring from the housing assembly.
Usually, the duct is secured in place to the exhaust fan with a zip tie or some foil tape, remove this and pull the duct free.
You should now see some wiring that’ll need to be undone, it’s pretty easy. Often, the wiring assembly is secured in place with a bushing and wire nut. Unscrew the wire nut and pull the wiring assembly out.
Step 6
Now it’s time to remove the old housing from the ceiling hole. This is fairly straightforward, locate the duct connector where it’s attached and unfasten it. It’ll most likely be held in place with a zip tie or some foil tape.
Step 7
Clean up the area for the installing of the new bathroom fan and make sure to check your measurements again to determine if you need to cut into the drywall for the new exhaust fan housing.
Now that you’ve removed the old exhaust fan, you’re ready to start installing the new fan.
Installing the Bathroom Vent Fan
With the removal of the old bathroom exhaust fan out of the way, now it’s time for you to put in the new fan.
Step 1
Start by verifying that the new fan housing fits, slide the housing into place, and see if it fits. Once you’ve verified that it fits, determine if it can be screwed to the joists. You may need more wood on the joists to reach the housing.
Step 2
Remove the junction box cover from the new fan, some don’t have them, and feed your home’s wiring through the housing assembly. Do not connect anything yet, you’re going to be moving the housing and vent around a lot.
Step 3
Now you can connect the duct connector to the fan housing. When installing the connector, make sure the flaps are pointing down, air is meant to exit the fan housing, not enter it.
You can secure the duct connector in place by either using a zip tie or foil tape, or you can connect the housing to the duct and push it into the ceiling.
Step 4
Next, you can secure the housing to the ceiling joist, some bathrooms have fast install brackets already in place, consider using them for your project.
If you don’t have an install bracket, then just secure at least one side of the fan housing to a ceiling joist. Since they’re lightweight, you don’t have to secure both sides.
Step 5
With the fan housing now secured in place, you can start on the wiring. Take the wiring and secure it in place with the allotted screws or nuts included in your kit or supplies. Most fan manufacturers have fast connectors for their wires on fan motors. Remember to match the wires when connecting them.
If the new fan has a humidity sensor or light, there will be a few additional wires to connect. You’ll want to use a bushing or grommet to keep the wiring from being damaged by sharp metal, etc.
Once you’ve connected everything, you just need to push the wiring back into the ceiling or wiring compartment, some don’t have them.
Step 6
Now that the wiring is taken care of, you need to seal up the gaps. Take some caulk or metal foil and apply a layer around the edge of the new bathroom exhaust housing.
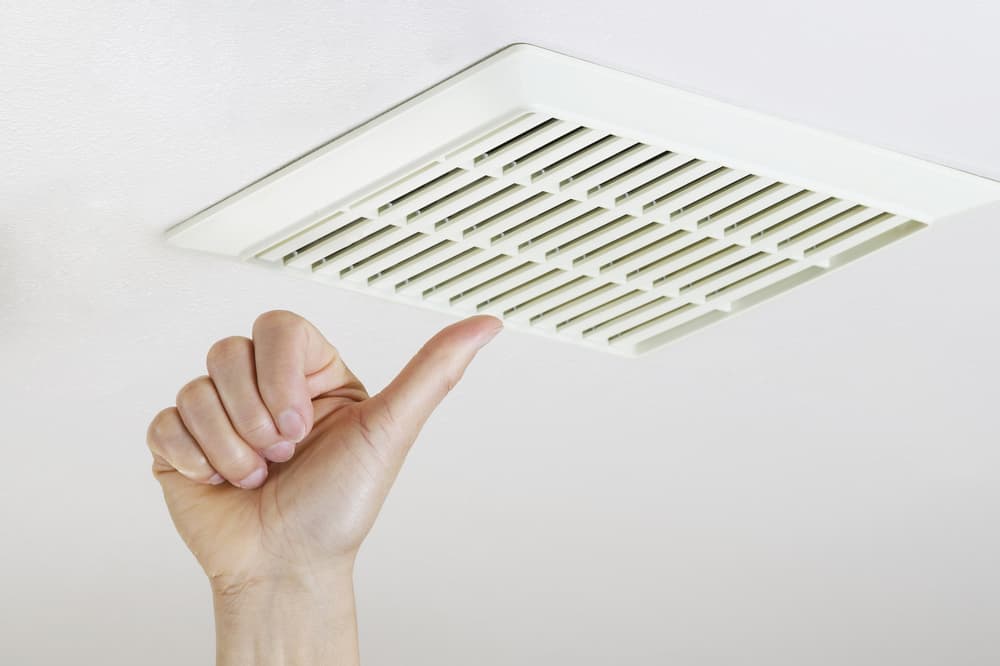
After you’ve sealed up the gaps, you can install the fan cover or grill. Just take the clips and fasten them in place.
Step 7
Finally, turn the breaker back on to the bath fan. With the power back on, it’s time to test your work. Flip the switch to the fan and see if it works. Once, you’ve determined it works, turn it back off and admire a job well done.
Now that you’ve successfully installed this one, you’ll be replacing all the exhaust fans in your home. No attic, no problem.
Consider Hiring a Professional
If the work involved to replace a bathroom exhaust fan without attic access seems like too much, then hire a professional to get it done.
The average cost to install bathroom exhaust fans is about $375, but it can range anywhere from $240 -$550. The model number of the fan makes the cost vary so much.
Homeowner Information
There’s a lot of information available to homeowners, whether it’s at the hardware store, online, or the DIY network. Take advantage of it.
Check Online
All kinds of DIY enthusiasts openly share information on how to get home repairs done. Explore some of their content for more tips and tricks. All you need to do is search for a bathroom fan without attic.
Look for recent posts to stay up-to-date on the latest fan sizes and technology for the next time you replace a bathroom fan.
Hardware Stores
You can get a lot of helpful information on tackling home repairs at your local hardware stores or their websites. They want their customers to get the job done right and enjoy doing it.
In the age of information, all you’ve ever wanted to know is but a few clicks away. Utilize that potential with a bathroom exhaust fan replacement.
A bathroom vent fan installation takes about 2-3 hours if you need to go in through the ceiling because you don’t have attic access. Don’t put off a simple repair and affect the air quality of your home by letting more mold, mildew, and humidity build-up. Get a new ventilation fan in your bathroom today.