
Updated on January 3, 2022
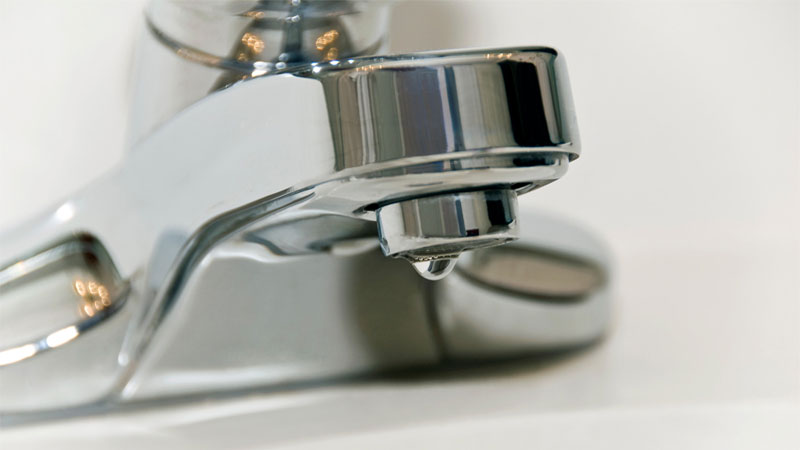
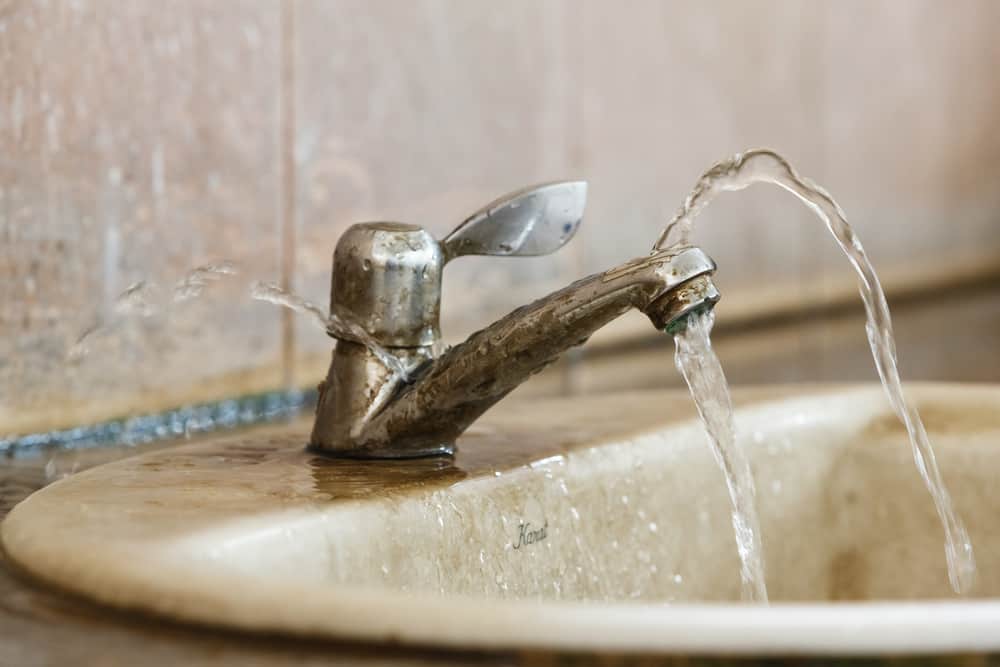
Do you have a leaky faucet that just won’t stop every time you turn off the water? Unfortunately, this is a common occurrence for faucets after several years of daily use.
Fixing a leaky single handle faucet isn’t that hard of a repair, and it’s made even easier with a repair kit, it has all the parts you’ll need.
Types of Leaks
Your leaky faucet might be dripping cold water or hot and cold, knowing which one it is will help. The leak could just require tightening up one side of the faucet valves.
Fiddle with the faucet handle to determine if it’s leaking on both sides or not.
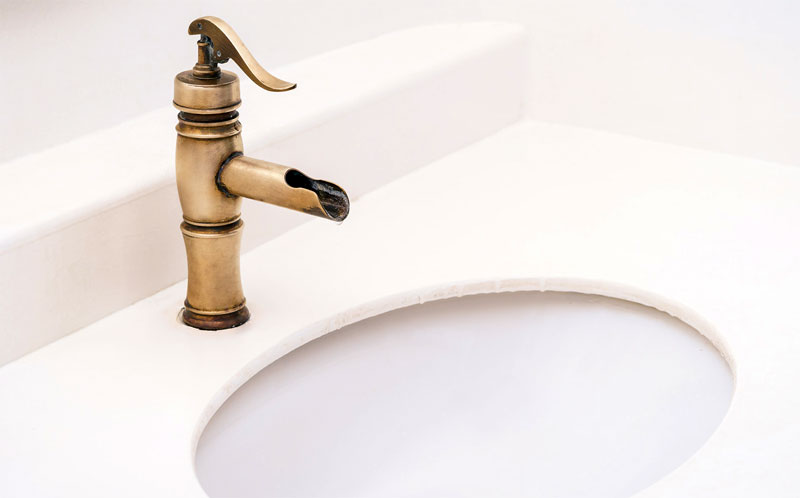
Bathroom Faucet Styles
If you need to upgrade your current faucet, worry not because there are many types of bathroom sink faucets to choose from.
Button-Type Faucet
Button faucets, as the name implies, don’t have the traditional handles associated with a sink, instead, you push a button to turn on the water and shut off the water. Although the button, button option can be confusing when first using one, their ease-of-use makes them quite desirable.
Many of the button faucets feature a retractable hose to allow for maximum use when washing those awkward-sized dishes.
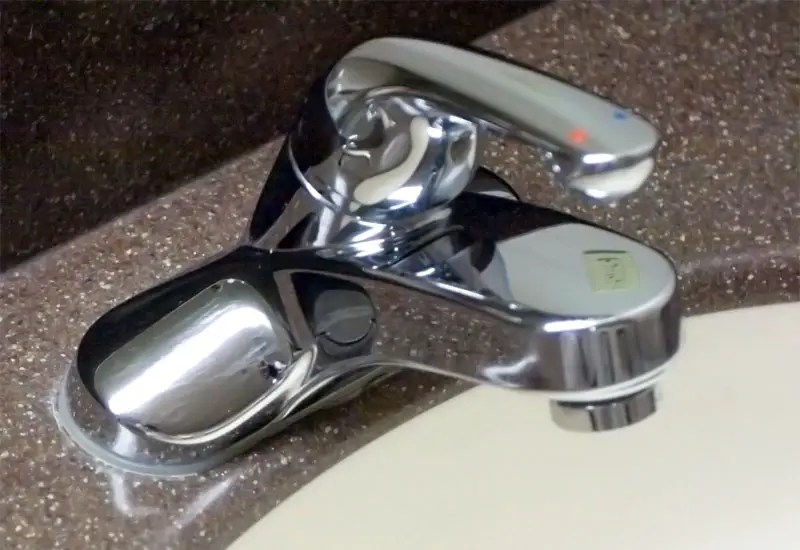
Single-Handle Faucet
If you’re set on sticking with your current style, buy another single-handle faucet.
The simplest type of faucet to install, a single-handle faucet works by positioning the knob to the left or right to make the water hot or cold or just push it straight up for a mild water temperature.
Touch-less Faucet
If you want to go hands-free, then buy a touch-less faucet. They work via a proximity sensor that detects if movement occurs in front of it, which, if detected, turns on the water.
Wall-mounted Faucet
Similar to many a shower faucet, a wall-mounted faucet is connected to the wall instead of the bathroom sink counter. Unlike a single handle faucet, these typically have two faucet valves to control the hot and cold water separately.
Related: How to Remove a Stuck Bathroom Sink Stopper
Inner-valve Types of Sink Faucets
There are so many brands, such as Delta, Moen, and Kohler, and types to choose from, that it can be hard to wrap your head around the differences. Here’s a quick breakdown of the inner mechanisms in faucets.
Ball Faucets
A ball faucet sometimes referred to as a washerless faucet, is a type of sink faucet that utilizes an inner-valve that relies upon a rotating plastic or metal ball for regulating water flow.
Due to the fact that they only rely upon one moving part to operate, they’re quite dependable. Considering buying a washerless faucet with a metal ball for even greater longevity.
Cartridge Faucets
A cartridge faucet relies upon an o-ring, located inside a cylindrical cartridge, to regulate the water flow. Due to their lack of moving parts, they’re quite reliable faucets.
Consider getting a brass cartridge faucet to ensure its durability.
Ceramic Disk Faucets
A ceramic disk faucet utilizes two ceramic discs, hence the name, that controls the water supply via the shearing action of the two discs.
They’re a great choice for a sink because they require almost no maintenance.
Shower Faucets
For many, their shower is a single handle faucet that they use to regulate the water supply of hot and cold water.
Sink faucets get used dozens of times a day in any given household, prevent any leak from happening by doing routine maintenance and replacing the faucet when it begins to show signs of irreparable wear.
Related: 24 Bathroom Faucet Brands
Water Flow Controls (aka: Faucet Handle)
There are many types of faucet valves in use to control the water flow to a sink.
Materials Used for Bathroom Faucets
If you need to replace your sink, then take the time to learn the difference between the materials used and why it matters.
Brass Faucets
A common material used for sink faucets is brass, which is primarily an alloy of copper and zinc, although sometimes tin and aluminum are added into the mixture.
Brass faucets are easy to clean, highly durable, and have antimicrobial properties due to the copper. Although it costs more money, you’re paying for quality.
Brushed Nickel Faucets
Sometimes referred to as satin nickel, brushed nickel faucets are simple to clean and quite durable. Given their stylish appearance, they’re a popular choice for many.
Chrome Faucets
Chrome is not just for those knockoff rims and spinners you see everywhere, you can also use it for your bathroom faucets at home.
Given its low cost and how easy it is to clean, chrome is a popular choice for many in a home. Although it’s not as durable as brass, the low cost makes up for it.
After all, who doesn’t like shiny objects?
Copper Faucets
Although technically they’re just copper finished, they still look nice. Given their atypical use in a bathroom, they’re bound to create the desired effect.
On the negative side, they do cost more money and don’t withstand the years as gracefully as other materials used for plumbing.
Plastic Faucets
For many, a plastic faucet handle is a standard in their home. After all, they’re cheap to produce and withstand a great deal of daily wear, making them a reliable material to use.
If you want a simple and cheap option, plastic knob faucets have been around for decades and aren’t going anywhere anytime soon.
Stainless Steel Faucets
Another classic faucet material is stainless steel, given its durability and shiny texture, it’s used in a variety of products.
The only real drawback being its inclination to reveal water spots, luckily, all you need to do is use some bathroom cleaner to remove it.
Zinc Faucets
If brass is too expensive for you, consider using a zinc faucet. Given its relative durability and resistance to corrosion, it’s a popular alternative. Although it’s a dull grey metal, you can easily buy one coated in chrome for a completely different look.
You can easily stay within budget and have a quality faucet with a new zinc handle or two.
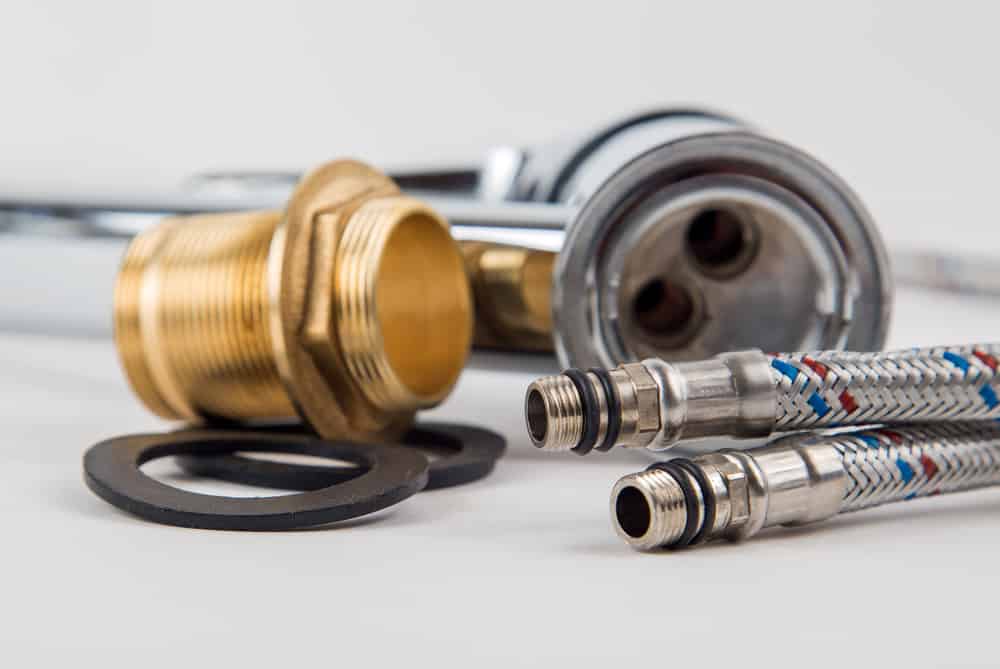
Types of Repair Kits
Depending on your current faucet, you’ll need a certain type of repair kit to get the job done.
Ball Faucet Kit
Inside of a ball faucet kit, you’ll find replacement seals and a new spout that’ll have a replacement ball for your faucet.
A ball valve is one of the included items in this kit.
Cartridge Faucet Kit
The contents of a cartridge faucet kit include o-rings, a faucet cartridge, and rubber seals.
If the main water shutoff valve doesn’t turn off the water, you probably need a faucet cartridge, which is a common part that needs to be replaced. Lucky for you, it’s included in these kits.
Disk Faucet Kit
Typically disk faucet kits contain
If your disk faucet is starting to leak or the handle is loose and won’t tighten, it’s time to buy a kit and replace the old parts.
Given the number of times a sink handle is used in a day, let alone a year, it’s amazing how long they can last. If your bathroom faucet is in need of a little tender loving care, then buy a repair kit and get to providing that much-needed attention.
Tools and Supplies You’ll Need for the Repair
Here’s a list of tools you’ll need to perform the repair, you might need a slight variation of this.
- Gloves
- Eye goggles
- Allen wrench
- Needle nose pliers
- Slip joint pliers
- Pipe wrench
- Plumber’s grease
- Rubber seals
- O-rings
Have a handle on the situation, pun intended, and get set up before you decide to start attempting a home repair.
Ways to Clean a Leaky Faucet
If it’s just a matter of gunk and debris clogging up the parts of your sink. Then try cleaning them before you spend your hard-earned money on a new faucet.
White Wine Vinegar
There are countless uses for this slightly acidic household product, one of which is cleaning. All you need to do is take a toothbrush, not one you use, and clean the parts, such as seats and springs, etc. by brushing the parts with vinegar.
Keep on reading to learn how to dismantle your sink to access the internal parts that are likely to be gummed up.
Getting Started on the Faucet Repair
A leaky single handle faucet is quite an annoying experience, the incessant patter of the dripping of water, both hot and cold, can begin to make you wince at the mere thought.
Locate the Shutoff Valve
Before you start replacing your leaky faucet, locate the shutoff valve and turn off the water, thus killing the water supply and preventing any unexpected water flow to a soon-to-be, non-existent faucet.
Removing the Bathroom Faucet
Now that you’ve shut off the water, it’s time to remove the old bathroom faucet. This involves a few steps.
Remove the Faucet Handle
Depending on the type of handle, you’ll need to loosen a screw on the back of it, an Allen wrench or hex key should work, or the handle will have a top-mounted screw. After removing the screw, pry up on it to remove the handle.
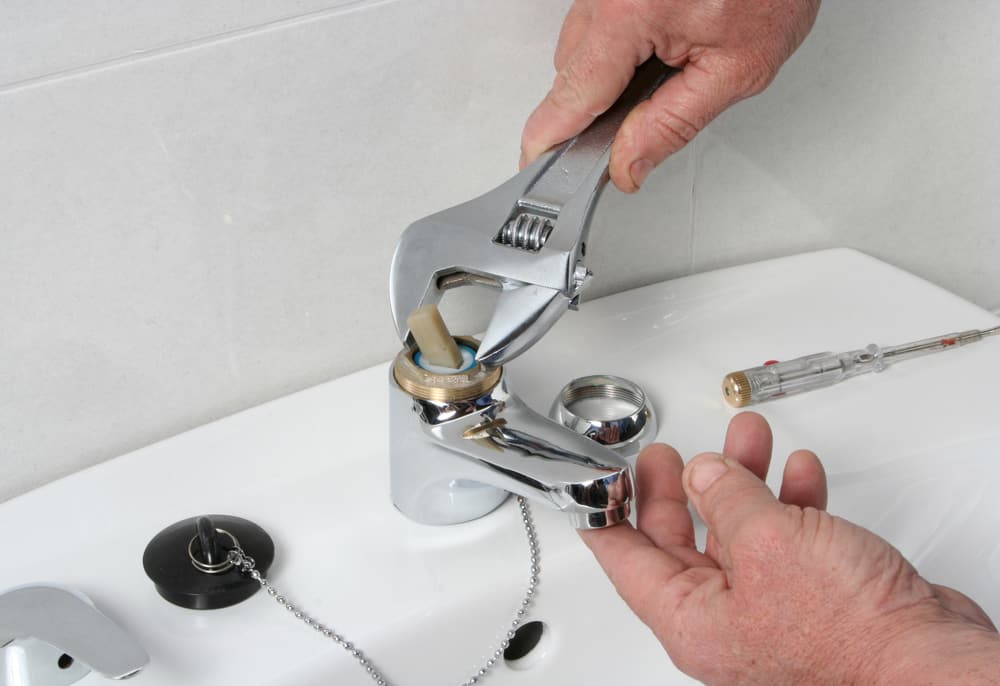
Removing the Bonnet and Ball and Cam
You’ll want to use slip-joint pliers to remove the bonnet. Once it’s removed, you can then remove the ball and cam assembly
Removing the Seats and Springs
Using needle-nose pliers, pull the seats and springs out of the faucet.
Removing the Cartridge
If your sink has a cartridge, this step applies to you.
In order to remove it, loosen the packing nut with a crescent wrench and remove it. Once the packing nut is removed, you’ll be able to gently pull the cartridge straight up after that, some models require a special tool to remove it, check the instructions with the kit or with the manufacturer.
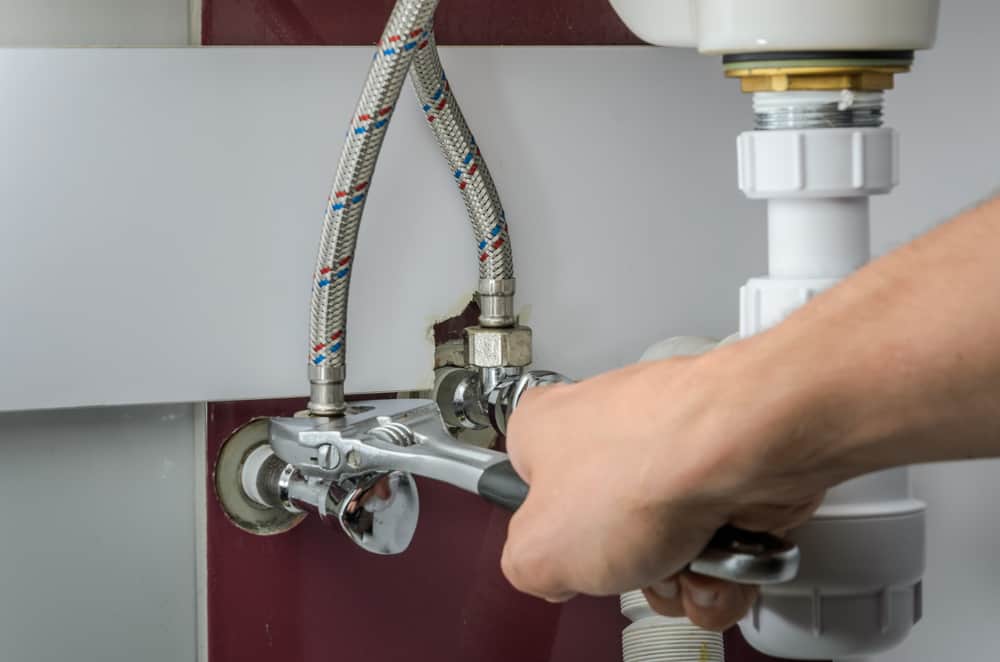
Remove the Faucet Spout
After the shutoff valves to the water supply line have been turned off and the handle removed, you’re to remove the faucet spout.
- Loosen the nuts or retainer clip that hold the faucet spout and faucet base in place, they are separate on certain faucet types. You will need to use needle-nose pliers to undo the clip, if yours has one, and remove the faucet.
- Lift the faucet up and out of its hole, it may take a little effort because of the seal.
Installing a New Ball Faucet Sink
Depending on your type of faucet, the installation process will vary slightly. Locate the replacement parts and begin the installation.
- As mentioned earlier, turn off the water via the shutoff valves before you attempt any plumbing repair.
- Install the drain body for the sink and its rubber washer, use some silicone between it and the rubber gasket.
- Tighten it in place by securing the lock nut.
- Install the ball rod into the new valve stem drain assembly and secure it with a new bonnet nut.
- Insert and connect the lift rod to its strap and attach it to the ball rod.
- Connect the supply lines to the faucet shanks.
- Next, fit the sink and sink body into place and connect the supply lines to their respective water valves.
- Attach the handles and secure them in place.
- Check that everything is tightened.
- Turn the water back on to the supply line and flush the faucet out by running water for several minutes.
Remember to install new gaskets, such as the o-ring when replacing your faucet.
Double-check Your Work
Before you turn on the water and verify that the water supply line is working, check all of your connections, such as the rubber seals, the valve stem, shutoff valve, even the retainer clip. Ensure that all of your plumbing appears to be in working order.
Read Also: 18 Different Types of Bathroom Sinks
Installing a New Cartridge Sink
Although all sinks are quite similar, their nuances in the installation process can vary enough to merit splitting up the installation processes.
- Apply some silicone to the rubber washer for the drain body and attach it to it, insert the drain body into position. Tighten the bolts to secure them in place.
- Install the new valve stem and tighten the bonnet nut.
- Install the new cartridge in place on the faucet body, don’t forget to inspect the o-rings and replace any worn ones.
- Tighten the packing nut to secure the cartridge in place.
- Attach the handle by sliding it into position and securing it with the screw.
- Turn the water back on to the supply line via the shutoff valve.
- Run the hot and cold water for 2-3 minutes to ensure it’s working properly and that the aerator isn’t clogged.
As mentioned earlier, check your work to ensure that all your pipes are connected how they should be and that all rubber seals and o-rings are seated properly.
Also, if your faucet is leaking, check the faucet cartridge, oftentimes you only really need to replace this part.
Installing a Disc Faucet
Here are the steps for installing a disc faucet, sometimes you’ll see it spelled disk faucet.
- Apply some silicone to the rubber seal and attach it to the sink body, then insert it in place and tighten.
- Install the drain assembly, valve stem, etc., and its rubber seal in place.
- Hook the ball rod to the drain assembly, secure it in place with its fastener, and attach it to the lift rod. You want your drain stop to work.
- Attach the water lines to the sink faucet shanks.
- Connect the supply line to the mainline.
- Slide the sink into position and secure it in place.
- Slide the handles into position on the faucet and secure it with its screws.
- Turn on the water to the supply line.
- Run hot and cold water for several minutes to test the connections and flush out any debris.
Again, check the faucet connections, your supply lines, and your rubber seals, you’ll be thankful for it later.
Installing a Shower Faucet
If it’s the show faucet in your home that leaks and needs to be placed, here are the steps involved to get it done.

- As with the other repairs, make sure the water is turned off, check the shutoff valve.
- Takedown the old showerhead by turning its connecting nut counterclockwise.
- The faucet handle will either be removed by unscrewing it or by pulling it off.
- Remove the internal parts underneath the handle with the same process as above.
- Remove the old valve, you might need to cut an approximately 1′ square opening into your wall to access it, some homes have this access panel already. You’ll have to cut the valve out of the copper pipe with a tubing cutter.
- Clean the copper pipe with a deburring tool and wire brush, you want it smooth. Attach the female adapters to the ends of the cut copper pipe and solder the joints to ensure no leaks. They call this sweating the pipes.
- Assemble the valve, you must make sure it’s the correct distance from the wall, the shower head attaches to this.
- Attach the valve assembly to its stringer, a cross piece that supports it, make sure to research the correct dimensions for it.
- Test the valve for leaks before installing anything else, there’s no sense in having to remove something if it isn’t right.
- Install the cartridge to the faucet if needed, check the specifications on yours. If needed, insert it firmly into the valve, make sure the markings line up, then screw on the bonnet nut and tighten with pliers.
- Install the tub spout, this might require soldering. Make sure to remove any rubber seals, o-rings, etc. that might melt from the heat.
- Install the showerhead. All you need to do is wrap some Teflon tape once around the threads, clockwise, and screw the showerhead on and secure the nut in place.
- Test the shower again for leaks and flush out the water lines for a few minutes, there’s no telling what’s in there from the factory. Then, when all seems well, push the handle back to the off position and you’re done.
Although the whole process can take up to 4 hours, it’s worth it to enjoy a quality, hot shower whenever you so desire. Familiarize yourself with some videos and DIY tips before you consider doing this yourself.
See Also: 5 Bathtub Alternatives (for Small Homes)
What to do After the Repair
Although it may seem like the repair is done because you were able to repair or install new faucets and rubber seals, but there is still work to be done.
Check for Leaks on a Regular Basis
A leak can be an indicator of a larger problem, and, even if it isn’t, if left unchecked, it can easily turn into one.
Water is a powerful force, it can carve its way through a mountain and it shapes the land we see — don’t let it ruin your house.
Consider Remodeling
If it’s not just the sink that’s run-down and in need of repair, consider remodeling the bathroom. Although it can be costly, a bathroom remodel will raise the value of your home and liven up the place.
Be ever vigilant to avoid any preventable surprise home disasters.
Resources
There are a lot of great resources available to help you fix a leaky bathroom faucet.
No matter the type of faucet you have, there are guides and tutorials available to assist you in the faucet repair.
The Spruce
Check out The Spruce site for great information on home repair projects, gardening and so much more.
Before you get started on a home repair project of your own, learn some tips by reviewing someone else’s work.
Your success is only a few clicks away.
If you enjoy any content you find, share it with your friends, just keep in mind that whatever website or app might have rights reserved to the content they provide.
Hire a Professional
If the job requires more than simply tightening the valves on a faucet and it seems like too much, then consider hiring a general contractor or plumber to get it done right.
Relax, it’s what they do, removing a bathroom sink faucet and replacing it with a new one is all in a day’s work for them.
The rates may be higher than your amateur neighbor, but at least the shower faucet doesn’t run cold water every time you turn on the water to the sink — How does that even happen?
Tips
Here are a few ways to help you save time, money, and effort.
- Replace the o-rings in your cartridge faucet if it starts to leak.
- Check your home’s main water lines and various shutoff valves every 3-6 months, you want them to work when you need them.
- Deal with a leak as soon as you notice it, don’t let it escalate into a bigger problem because of neglect.
- If you’re interested in DIY and home repair, follow a blog or watch some videos from professionals like Bob Formisano.
- A rubber washer is cheap, a new faucet isn’t, check them periodically to see if they’re worn out.
- Invest in some repair kits, even if you don’t need to replace everything, you’ll still have the part you do need.
Water, it’s great when you want it from the sink, but annoying otherwise. Most people don’t want to deal with a leak from a bathroom faucet, but, with a little bit of effort and plumbing, your leaky bathroom sink faucet will be as good as new, or, maybe brand-new. Get started on your faucet handle repair today and don’t put it off until it becomes something worse.
